
A damp basement wall is rarely just a basement problem. Water around the foundation can lead to musty odors, peeling finishes, damaged belongings, mold growth, and, in more serious cases, pressure against the structure itself. In North Carolina, heavy rain, red-clay soils, and changing grades around older homes can all make moisture management a recurring concern.
Knowing how to waterproof foundation walls starts with identifying where the water is coming from. The right repair may involve exterior drainage and waterproofing, interior moisture control, or both. Applying a coating without correcting the source of the water can leave homeowners paying for a solution that does not last.
Start With the Source of the Water
Before any waterproofing work begins, look for the pattern. Does moisture appear only after hard rain? Is it concentrated near one corner, below a downspout, or along a wall with visible cracks? Is the basement consistently humid even when there is no standing water?
Water stains, white mineral deposits called efflorescence, peeling paint, and a musty smell all point to moisture moving through or around the foundation. Horizontal cracks, bowing walls, large stair-step cracks in block walls, or soil washing away near the home deserve prompt professional attention. Those conditions may involve drainage problems, settlement, or structural movement rather than a simple surface-water issue.
A proper evaluation should consider the roofline, gutters, downspouts, landscaping, driveway slopes, patios, and the soil grade around the house. Water follows the easiest path. If the ground slopes toward the home or downspouts empty beside the foundation, even a quality wall coating will be under constant pressure.
Correct Drainage Before Waterproofing Foundation Walls
Exterior waterproofing works best when rainwater is directed away from the house before it reaches the foundation. Gutters should be clean, securely fastened, and large enough to handle roof runoff. Downspouts should carry water well away from the foundation, not release it at the base of the wall.
The soil around the home should generally slope away from the foundation. Over time, mulch beds, settling soil, landscaping projects, and hardscape additions can create low spots that trap water against the house. Regrading may be a straightforward fix, but it must be planned carefully so water is not redirected toward a neighboring property, driveway, or low area near the home.
For homes with recurring groundwater problems, a perimeter drain system may be needed. Often called a French drain or footing drain, this system collects water near the foundation and carries it to an appropriate discharge point. The design depends on the property, soil conditions, elevation, and local drainage options. There is no one-size-fits-all layout.
Exterior Waterproofing Is the Most Complete Repair
When water is entering through below-grade foundation walls, exterior waterproofing is generally the most thorough approach. It stops water from reaching the wall instead of managing it after it gets inside.
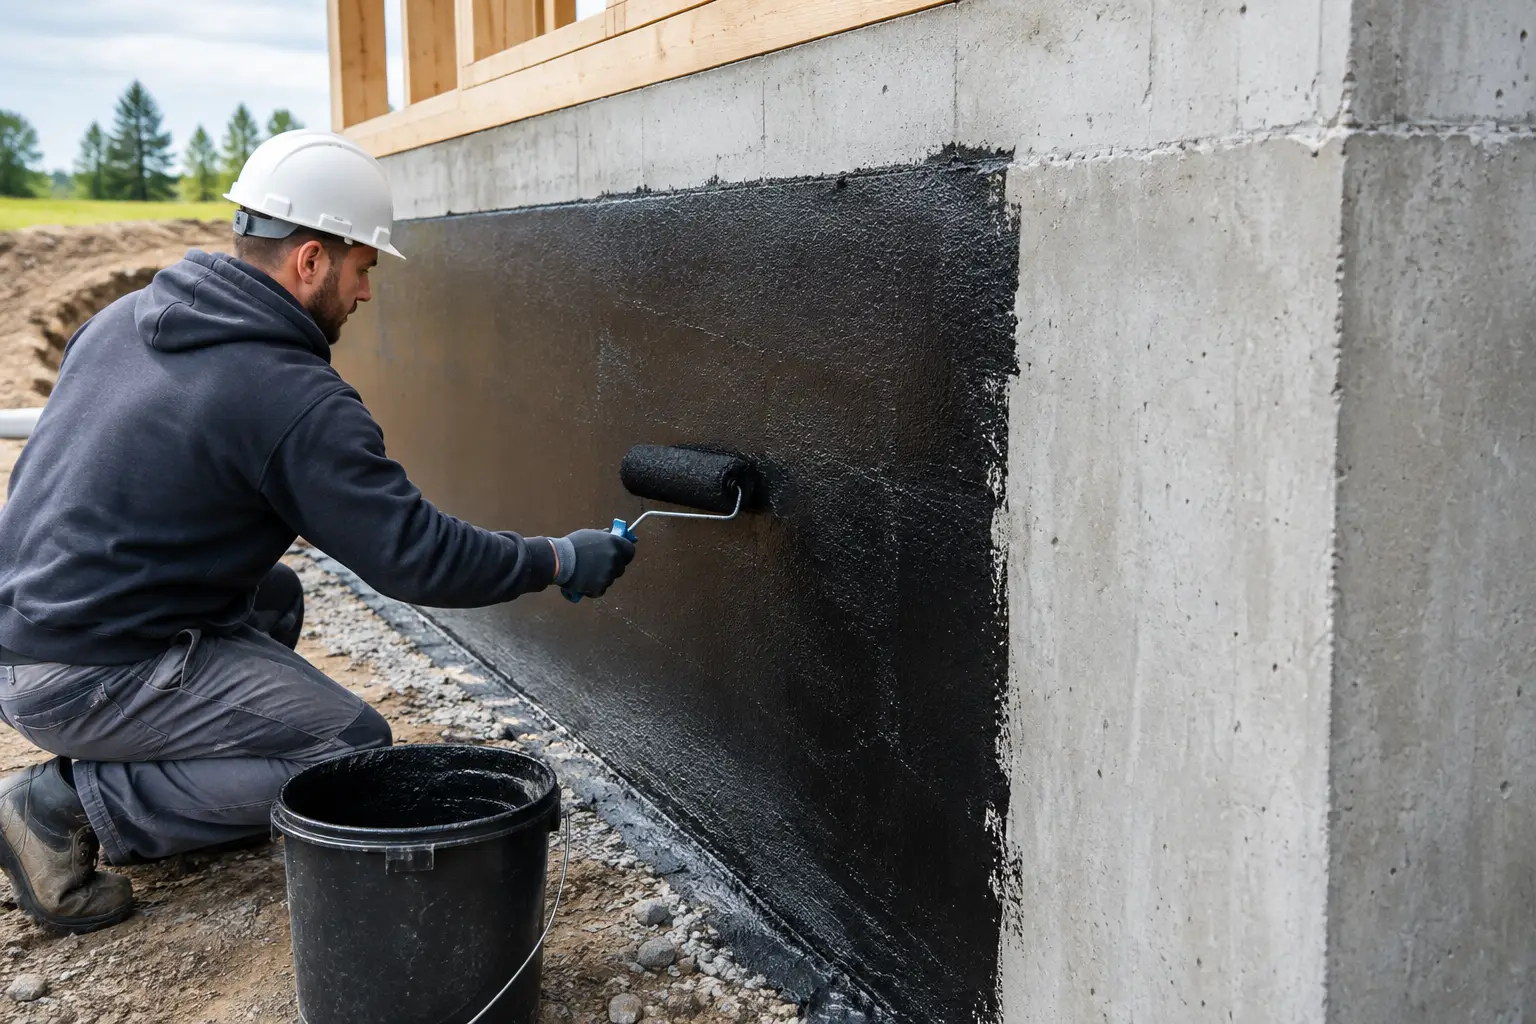
The process typically begins by excavating the soil along the affected foundation wall down to the footing. The contractor cleans the exposed wall, inspects it for cracks or deteriorated mortar, and completes needed repairs. The wall must be clean and dry enough for the waterproofing system to adhere properly.
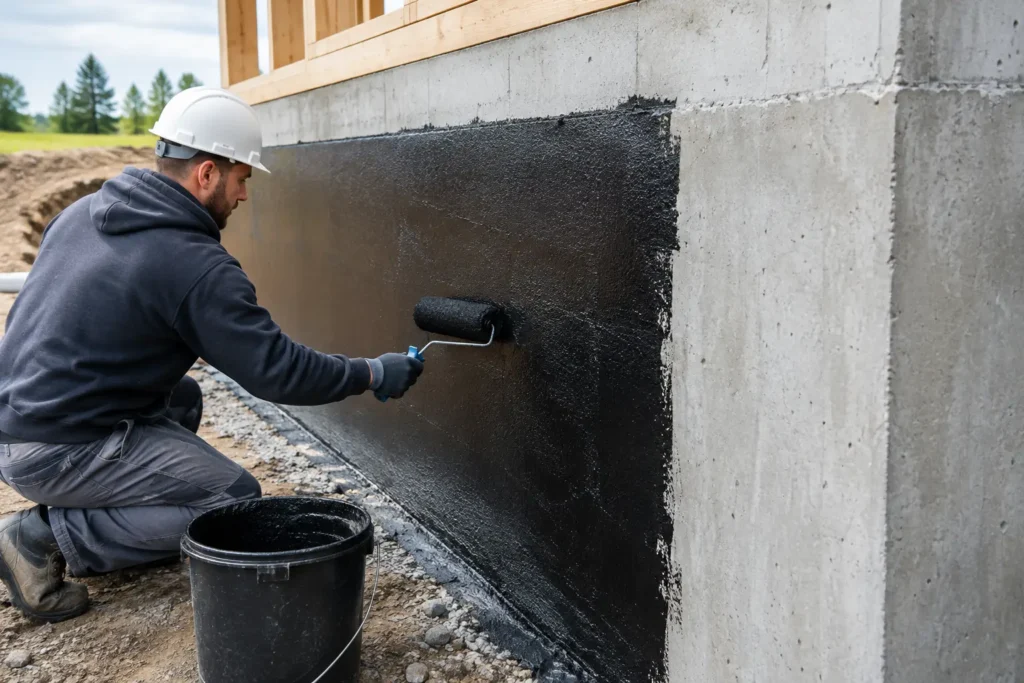
A professional-grade waterproof membrane or coating is then applied to the exterior surface. Unlike basic damp-proofing, which offers limited resistance to soil moisture, a true waterproofing system is intended to resist water under pressure. Depending on the foundation and site conditions, the installation may also include a drainage board or protective layer that helps channel water down to the footing drain while protecting the membrane from backfill damage.
Clean gravel and a properly installed drain pipe are commonly placed near the footing. The area is then backfilled with care. Poor backfilling can damage the system, compromise drainage, or leave the grade sloping toward the house.
Exterior work requires excavation equipment, careful planning around utility lines, and experienced installation. It is not usually a practical DIY project, especially near decks, porches, HVAC equipment, landscaping, or underground services. The cost can be higher than an interior fix, but it addresses the water before it reaches the foundation wall.
Repair Cracks Before Applying a Membrane
Cracks should not be covered and forgotten. Small non-structural cracks can often be sealed with the appropriate repair material, while active, widening, or displaced cracks need closer assessment. In poured concrete walls, crack injection systems may be used in certain situations. Masonry block walls may require mortar repair, reinforcement, or drainage improvements depending on the cause.
The repair should match the condition of the wall. A surface patch may improve appearance, but it will not solve movement, hydrostatic pressure, or ongoing water buildup outside the foundation.
Interior Waterproofing Has an Important Role
Interior waterproofing is often used when exterior excavation is impractical, when groundwater is entering at the wall-floor joint, or when a home needs a way to collect and discharge water that reaches the foundation. A typical interior drainage system uses a channel along the basement perimeter to direct water to a sump basin, where a pump sends it away from the home.
This approach can be effective, particularly for finished-basement protection and chronic groundwater management. However, it does not prevent soil outside the home from becoming saturated. The exterior wall may still be exposed to moisture, so exterior drainage improvements remain valuable whenever possible.
Interior wall sealers have a more limited role. They can help reduce minor dampness on sound masonry, but they are not a reliable answer for active leaks, standing water, or a foundation under significant water pressure. If a wall is wet after rain, treat paint-on sealers as a possible finishing step, not the primary repair.
Choose Materials for the Foundation You Have
Poured concrete, concrete block, brick, and stone foundations do not all behave the same way. Block foundations, for example, can hold water inside their hollow cores. A visible wet spot may be some distance from the actual entry point. Older homes may also have aging mortar, mixed foundation materials, or drainage systems that were never designed for current rainfall patterns and landscaping.
Professional waterproofing materials may include liquid-applied membranes, sheet membranes, drainage boards, hydraulic cement for specific repair areas, crack-injection products, drain pipe, gravel, filter fabric, sump systems, and vapor-management products. The best combination depends on where water is entering and how the property sheds rainwater.
Be cautious of quick fixes that promise to stop every leak with one coating or sealant. Quality materials matter, but workmanship, surface preparation, drainage design, and attention to details matter just as much.
Avoid Common Foundation Waterproofing Mistakes
Homeowners often start by sealing the inside wall because it is accessible. That can be tempting, but it may trap moisture in masonry or conceal evidence of a larger problem. Another common mistake is extending a downspout only a few feet, then allowing water to flow back toward the house because of the grade.
Avoid these four issues when planning foundation moisture repairs:
- Covering cracks before determining whether they are growing or structural.
- Applying interior sealer to walls that are actively leaking after rain.
- Installing drains without a reliable discharge route for collected water.
- Adding soil against siding, weep holes, or wood framing while trying to improve the grade.
It is also wise to protect landscaping, walkways, outdoor equipment, and finished basement areas before work begins. A clean, organized job site and a clear plan for restoring disturbed areas make a major difference in the overall experience.
When to Call a Professional
Call for an assessment when you see recurring water entry, puddles along the basement wall, moldy odors that return after cleaning, crumbling foundation material, or cracks that are wider, longer, or changing over time. A qualified contractor can help separate a simple gutter or grading correction from a project that needs drainage, excavation, concrete repair, or interior water management.
For homeowners in the Piedmont Triad and surrounding North Carolina communities, seasonal storms can expose weak points quickly. An on-site evaluation allows the condition of the foundation, drainage path, surrounding grade, and existing exterior features to be considered together instead of treating one symptom at a time.
A dry foundation begins with a practical plan: move roof runoff away, relieve water pressure in the soil, repair the wall correctly, and use the waterproofing method that fits the home. Addressing the issue early can protect the spaces and improvements you have worked hard to enjoy.