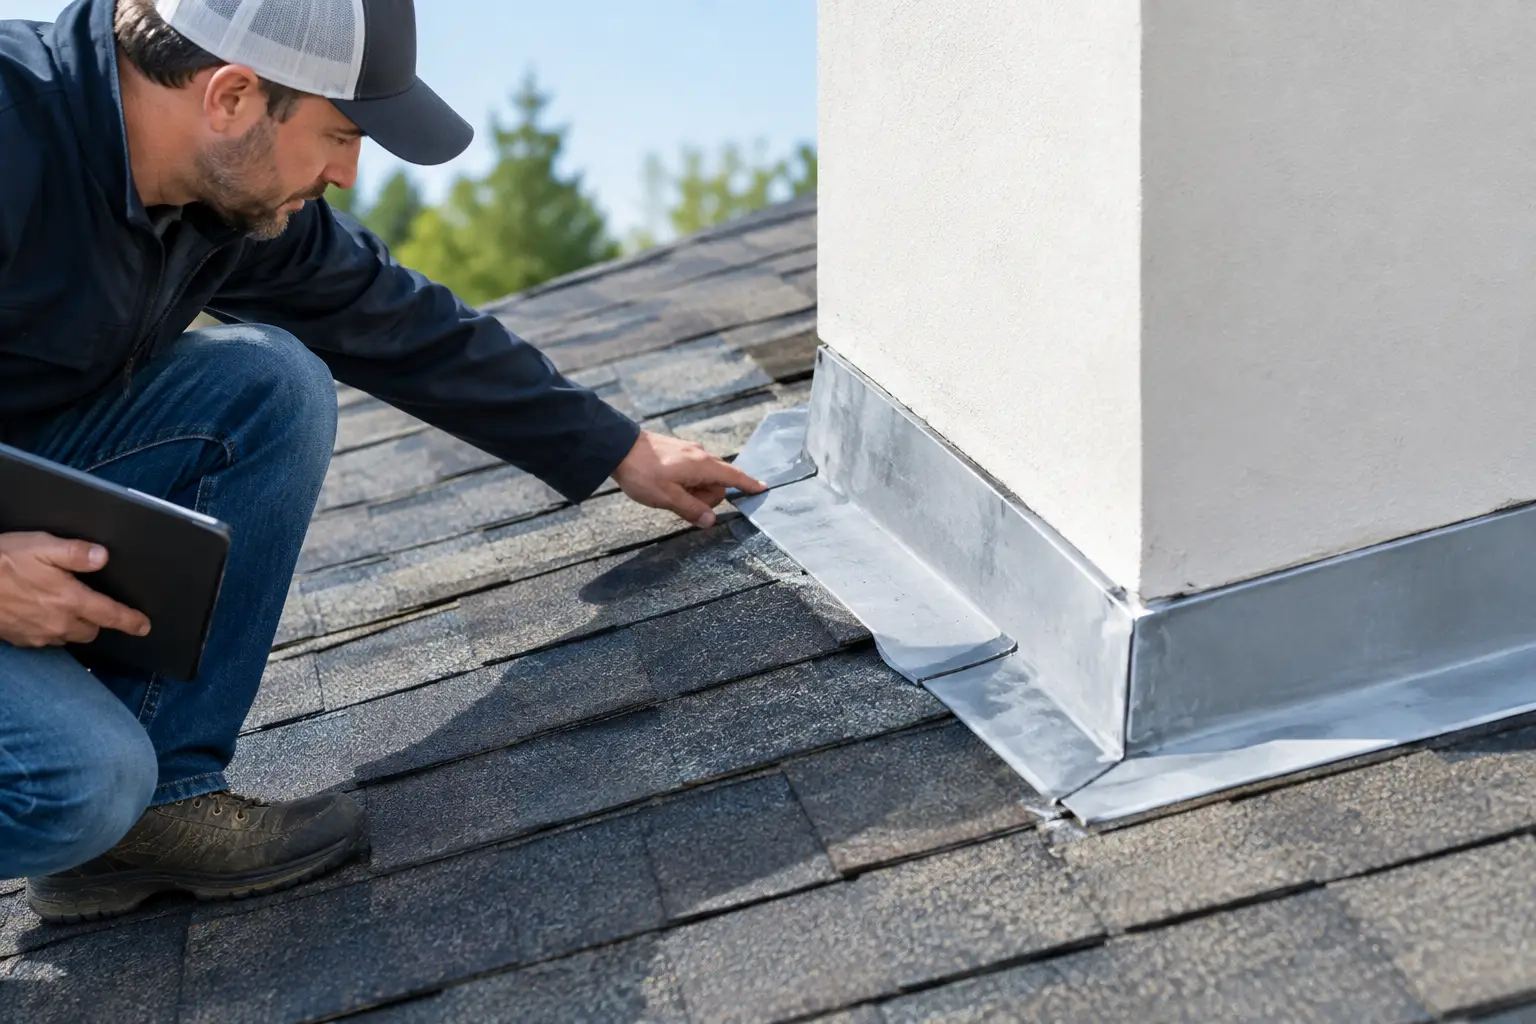

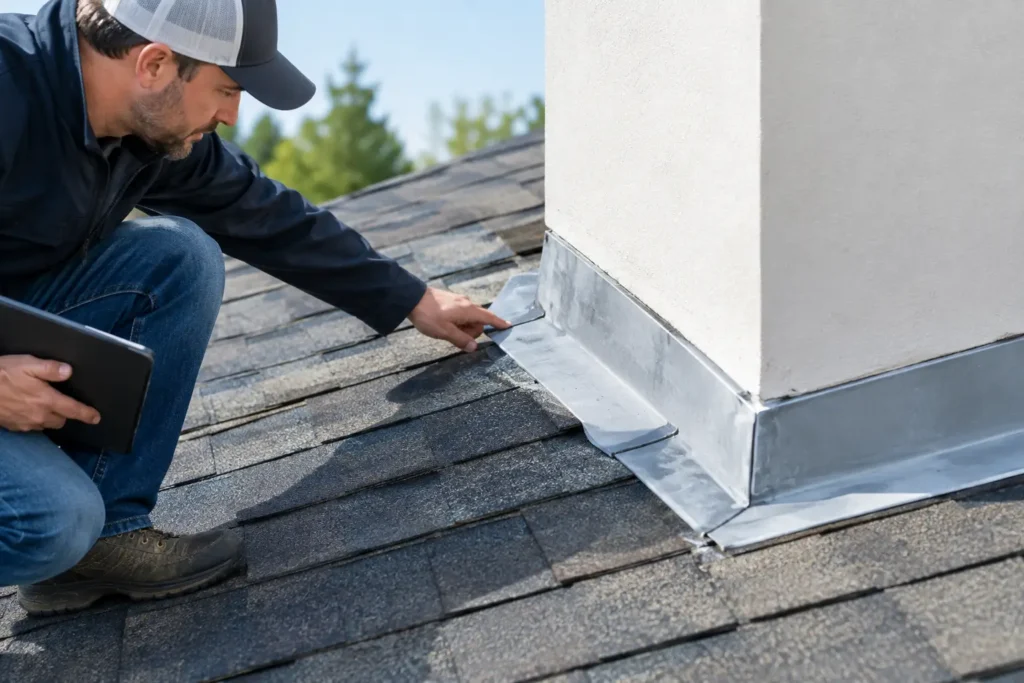
A roof can have shingles that look perfectly sound from the street and still develop a leak around a chimney, vent pipe, skylight, or wall intersection. That is why learning how to inspect roof flashing matters. Flashing is the thin metal material that directs water away from vulnerable roof joints. When it loosens, rusts, bends, or separates from the roofing material, water can find its way beneath the roof system.
For most homeowners, the safest and most useful inspection happens from the ground, from a ladder at the eaves, or inside the attic. Walking on a roof can damage shingles, create a fall hazard, and make it harder to spot the issue without the right experience. A careful visual check can help you recognize warning signs early and know when it is time to schedule a professional roof repair.
What Roof Flashing Does
Roof flashing protects the places where the roof changes direction or meets another surface. Common flashing locations include around chimneys, plumbing vent pipes, skylights, dormers, valleys, roof-to-wall transitions, and along the edges of some roof sections.
On a properly installed roof, flashing works with shingles rather than sitting on top of them as a simple patch. Step flashing, for example, is layered with shingles where a roof meets a vertical wall. This layering allows water to shed naturally down the roof. Caulk and roofing sealant may be used in limited areas, but sealant alone is not a long-term substitute for correctly installed flashing.
Because flashing handles concentrated water flow, even a small opening can cause staining, rotted decking, damaged insulation, or mold growth over time. Catching problems before water reaches the interior can save a homeowner from a much larger repair.
How to Inspect Roof Flashing Safely
Start with a walk around the home on a clear day. Stand far enough back to see the full roofline, then use binoculars or your phone camera zoom to inspect details near chimneys, vents, and wall intersections. Look from more than one angle, especially if your home has multiple roof slopes.
Pay close attention after heavy rain, strong winds, or a season of falling branches. In North Carolina, summer storms, wind-driven rain, humidity, and occasional ice can expose weaknesses around roof penetrations and transitions. A flashing issue may not leak during every storm. Wind direction, rainfall volume, and clogged gutters can all affect whether water reaches a vulnerable spot.
If you use a ladder, keep it on stable, level ground and do not lean it against gutters or climb onto the roof. A ladder can help you inspect lower flashing near the eaves, but it will not safely reveal every detail. When in doubt, a qualified roofing professional can inspect the roof closely without putting your safety at risk.
Check Chimney Flashing
Chimneys are one of the most common locations for flashing failures. From the ground, look for metal strips where the chimney meets the shingles. The flashing should appear flat, secure, and integrated with the roof, not lifted, bowed, or heavily coated in cracked sealant.
Watch for rust, missing metal sections, visible gaps, bent corners, and mortar deterioration where counterflashing meets the brick. Counterflashing is the upper piece of metal that covers the top edge of the roof flashing. If it pulls away from the chimney or the masonry joints crack, water can work behind the metal.
A dark stain on the chimney, missing shingles around its base, or loose debris collected behind the chimney are also reasons to have the area evaluated. Water often collects on the uphill side of a chimney, so this area needs careful attention.
Examine Vent Pipe Boots and Flashing
Plumbing vents extend through the roof and are typically sealed with a flashing base and a rubber or neoprene boot. These boots do not last forever. Sun exposure can cause them to crack, dry out, or split around the pipe.
From a safe viewing position, look for a boot that appears curled, brittle, torn, or separated from the pipe. A vent pipe that looks crooked or has a visible gap around its base may also indicate trouble. Since these openings are small, the resulting leak may begin as a faint ceiling stain or a damp spot in attic insulation rather than a dramatic drip.
Look Closely at Roof-to-Wall Flashing
Where a sloped roof meets siding, brick, or another vertical wall, the flashing should direct water out and over the shingles. Look for lifted siding, exposed metal edges, missing shingles, or a thick bead of deteriorating caulk along the joint.
This is an area where appearance can be misleading. A wall flashing repair may require removing a section of siding or roofing to restore the correct layered installation. Applying more sealant on the surface may slow a leak temporarily, but it does not always address the path water is taking behind the materials.
Inspect Valleys and Skylights
A roof valley is where two roof slopes meet. It carries a high volume of runoff, which means damaged valley metal, missing shingles, or open seams can become a serious issue quickly. Look for debris buildup, exposed fasteners, rust, or sections that appear bent or separated.
Around skylights, inspect the shingles and flashing at all sides of the frame. Signs of concern include cracked sealant, lifted shingles, visible gaps, staining on the skylight trim indoors, or moisture between the skylight glass panes. Not every skylight leak comes from flashing, though. Condensation, failed glazing seals, and nearby roof damage can produce similar symptoms, so a professional inspection may be needed to identify the source accurately.
Check the Attic for Evidence of Water
An exterior inspection is only half the job. If your attic is accessible, inspect it during daylight hours with a flashlight. Do not step between ceiling joists or disturb insulation unnecessarily.
Look at the underside of the roof decking near chimneys, vents, skylights, and roof valleys. Fresh water stains may appear darker than surrounding wood. You may also see rusty nail heads, damp insulation, black or gray spotting, peeling wood layers, or a musty odor. A leak can travel along framing before it becomes visible, so the interior evidence may be several feet away from the actual flashing problem.
It helps to check after a hard rain, but never enter an attic during lightning or unsafe weather. If you find active moisture, place a container below any drip if necessary, protect belongings, and arrange for a roofing professional to assess the roof promptly.
Signs Flashing Needs Professional Attention
Some flashing concerns can be seen from the ground, while others become clear only during a hands-on roof inspection. Schedule a professional assessment if you notice recurring ceiling stains, water around a chimney or skylight, loose or missing shingles near a flashing area, visible rust, cracked vent boots, or flashing that has pulled away from the roof or wall.
Age is another factor. Flashing can outlast shingles in some cases, but it can also fail sooner due to poor installation, storm damage, incompatible materials, or repeated expansion and contraction. If your roof is nearing the end of its service life, it makes sense to have flashing evaluated as part of a broader roof condition review. Reusing damaged or poorly installed flashing during a roof repair can lead to avoidable problems later.
A professional should also evaluate any roof leak that appears after a storm, even if it stops once the roof dries. Intermittent leaks are still leaks, and small openings tend to worsen as water, wind, and seasonal temperature changes work on the materials.
Avoid Quick Fixes That Hide the Problem
It can be tempting to cover a suspicious joint with roof cement or caulk. While sealants have a role in certain repairs, relying on a large surface patch can trap water, crack with age, and hide the original installation problem. The right repair depends on the flashing type, the roof material, the condition of surrounding shingles, and whether the roof deck has been affected.
For homeowners in the Piedmont Triad and surrounding North Carolina communities, Carolina Improvements can assess flashing concerns as part of a professional roof repair evaluation. A clear inspection helps determine whether the solution is a targeted repair or whether broader roof work is the better long-term value.
If you see a stain, a lifted metal edge, or a cracked pipe boot, take a photo and note when you first noticed it. Those details can help a roofing professional trace the source and protect your home before a minor flashing issue becomes interior damage.