
A stifling attic in July, damp insulation, or peeling paint near the roofline can point to the same underlying issue: trapped heat and moisture. Knowing how to improve attic ventilation helps protect more than your comfort. A properly designed system can support roof longevity, reduce moisture-related damage, and make your home easier to cool during North Carolina’s long, humid summers.
Attic ventilation is not simply a matter of adding more vents. It works best as a balanced system that brings fresh air in low along the roof and allows hot, humid air to leave near the peak. The right approach depends on your roof shape, existing vents, insulation level, and the condition of the roof itself.
Why Attic Ventilation Matters
Your attic sits between your conditioned living space and the outdoors, so it takes on a great deal of heat. On a sunny day, roof surfaces can become much hotter than the air outside. Without a route for that heat to escape, attic temperatures rise and place extra strain on insulation, HVAC equipment, and roofing materials.
Moisture is just as concerning. Warm indoor air can move into the attic through gaps around light fixtures, plumbing penetrations, attic hatches, and framing openings. When that moisture reaches cooler roof decking, it can condense. Over time, this may contribute to mold growth, damp insulation, stained wood, rusted fasteners, or premature roof deck deterioration.
Good ventilation will not correct every comfort or moisture problem on its own. Air leaks from the house and insufficient insulation also need attention. Still, a balanced venting plan is an essential part of protecting the roof system.
Signs Your Attic May Need Better Ventilation
A quick attic look can reveal whether it is time for a professional assessment. You may notice that upstairs rooms are difficult to cool, even when the air conditioner is running properly. A hot attic is expected in summer, but extreme heat combined with uneven indoor comfort can suggest limited airflow or inadequate insulation.
Other warning signs include a musty attic odor, visible mildew, wet or compressed insulation, dark staining on roof sheathing, or rusty nails protruding through the decking. Outside, curled or prematurely aging shingles can have several causes, including installation issues and normal wear, but excessive attic heat may be a contributing factor.
Pay attention to bathroom exhaust fans as well. A fan that ends inside the attic adds humid air directly where it does not belong. Dryer vents should never terminate in the attic either. Both should discharge outdoors through properly installed exterior venting.
How to Improve Attic Ventilation With Balanced Airflow
The most effective attic ventilation systems use intake and exhaust vents together. Intake vents are usually located at the soffits or eaves, where they can draw in cooler outside air. Exhaust vents are located high on the roof, often at the ridge, allowing rising heat and moisture to leave.
This low-to-high airflow is the key. If a roof has plenty of exhaust vents but little or no intake, the system may pull conditioned air from the house through ceiling leaks rather than draw outdoor air through the soffits. That wastes energy and can increase moisture movement into the attic.
Start With Clear Soffit Intake Vents
Soffit vents are often the missing piece in an underperforming attic. They provide the intake air that makes ridge or other exhaust vents effective. However, insulation can accidentally block these vents, especially near the outer edges of the attic floor.
Properly installed rafter baffles keep insulation from covering the soffit openings while preserving an air channel along the underside of the roof deck. This is a detail worth getting right. Simply pulling insulation back without baffles can leave gaps that reduce energy efficiency and may allow insulation to shift back into the vent path later.
Not every home has vented soffits. Some houses use other intake options, such as edge vents or low-profile roof intake vents. A contractor can determine what suits the roof design without compromising its weather protection.
Choose One Primary Exhaust Strategy
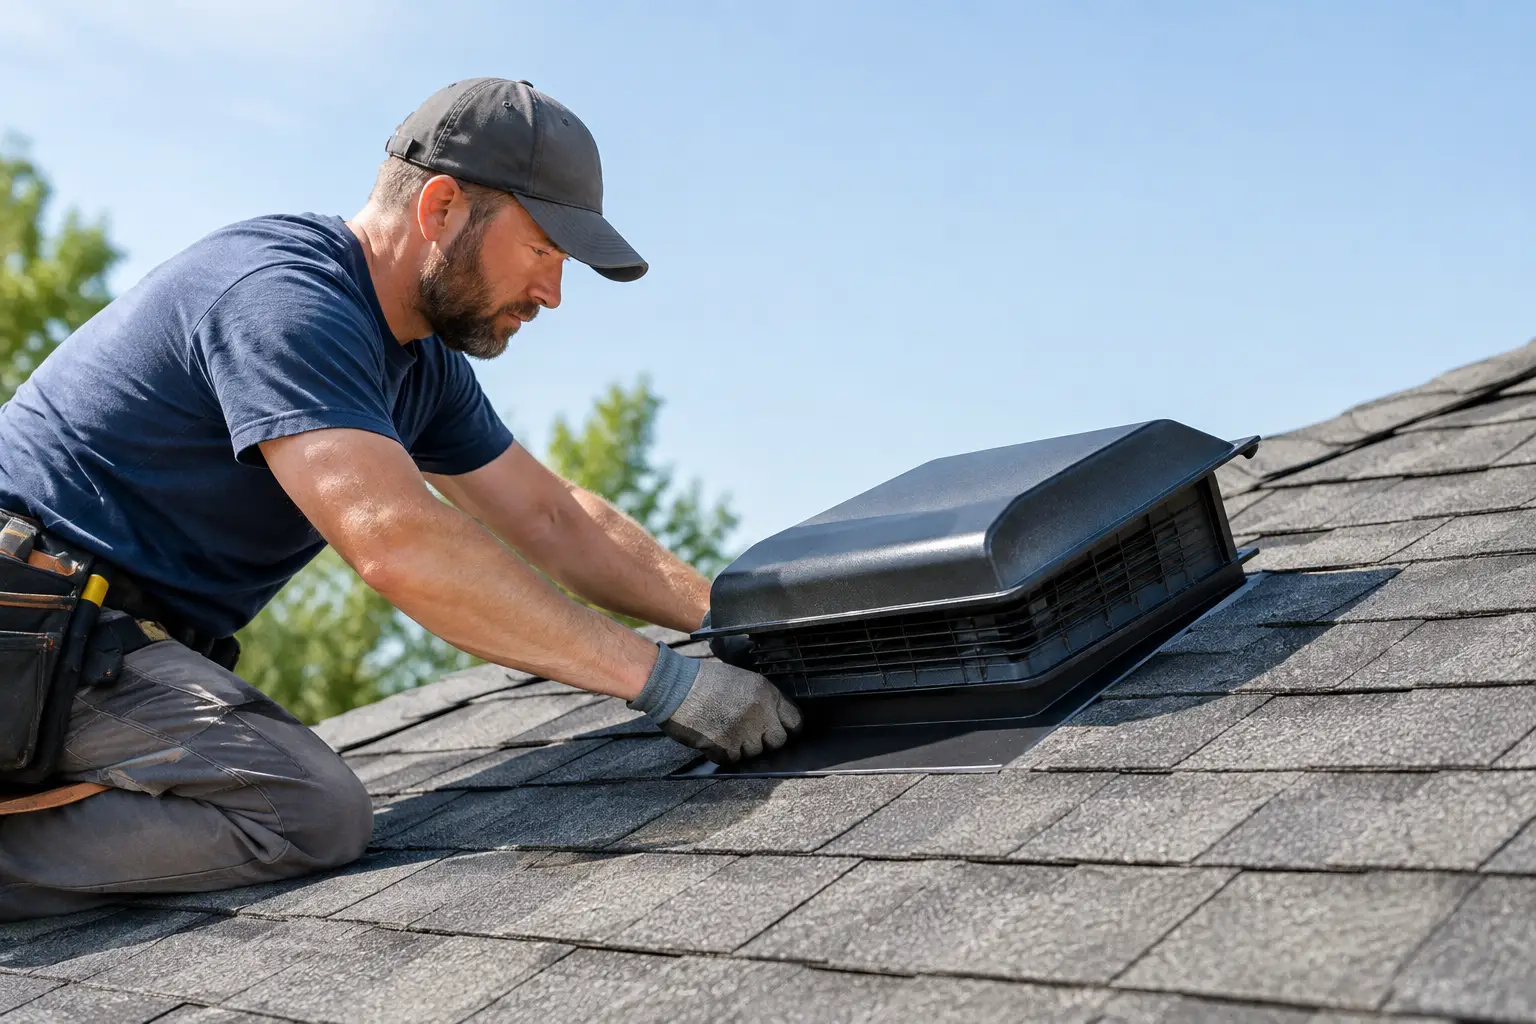
Ridge vents are a common and effective exhaust option when they are compatible with the roof design. Installed along the roof peak, they provide continuous ventilation and usually blend into the roofline better than individual box vents. They work especially well when matched with adequate soffit intake.
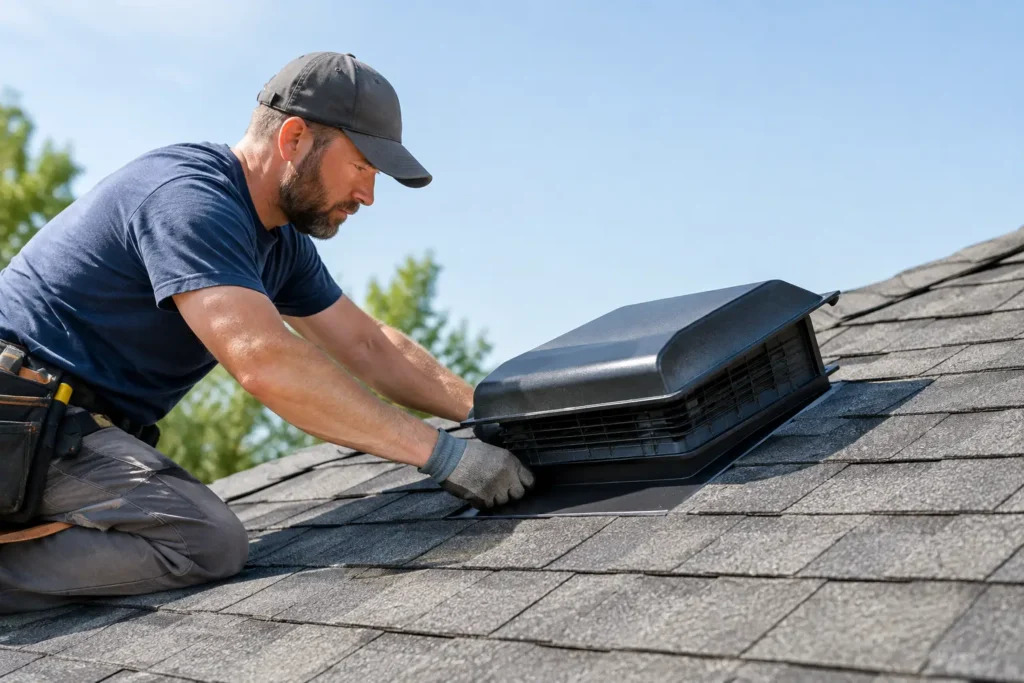
Other homes may use roof louvers, box vents, gable vents, or powered attic ventilators. Each has a place, but mixing several exhaust methods without a plan can reduce performance. For example, adding powered fans or gable vents to a ridge-vent system can short-circuit airflow by drawing air from the nearest opening instead of from the soffits.
Powered attic fans may be helpful in specific situations, but they are not an automatic upgrade. If intake is limited or the ceiling plane has air leaks, a fan can pull cooled air from the living space into the attic. Before installing one, address air sealing, insulation, and balanced passive ventilation.
Make Sure Vent Openings Are Sized Correctly
The amount of ventilation a home needs is based on the attic floor area and the net free area of the vent products being used. Building requirements commonly use a ratio of one square foot of net free ventilation area for every 150 square feet of attic floor. In some properly configured assemblies, that ratio may be reduced to 1:300.
Those figures are a starting point, not a do-it-yourself design formula. Screens, louvers, and vent materials reduce the actual open area, so the size printed on a vent is not always the airflow area it provides. Intake and exhaust should generally be divided as evenly as practical, with a slight emphasis on intake when conditions call for it.
A roof professional should also account for local code requirements, manufacturer instructions, and the roof’s slope, valleys, ridges, and existing penetrations.
Seal Air Leaks Before Adding More Insulation
Ventilation manages the attic’s connection to outdoor air. Air sealing controls unwanted air movement from inside your house. Both matter.
Before installing additional insulation, seal common leakage points at the attic floor. These can include openings around plumbing stacks, wiring, recessed lights not rated for insulation contact, duct penetrations, wall top plates, and the attic access panel. Foam, caulk, weatherstripping, or appropriate covers may be used depending on the location and material.
Ductwork deserves close attention too. Leaky ducts can release conditioned air into the attic, forcing your heating and cooling system to work harder. Duct insulation should be intact, dry, and properly supported. If you find damaged, disconnected, or sweating ducts, it is wise to have the issue evaluated rather than covering it with more insulation.
Keep Insulation Out of the Vent Path
A well-insulated attic floor helps keep heat where it belongs: inside the home in winter and out of the living space in summer. But insulation should not be packed against the roof deck in a conventional vented attic, and it should never block soffit intakes.
If your attic has loose-fill insulation, check whether it has drifted into the eaves. If it has batt insulation, look for compressed sections, gaps, or batts installed over vents. Insulation that is wet, moldy, or heavily compacted may need replacement after the moisture source is corrected.
Some homes are designed as unvented attic assemblies, usually with insulation installed along the roofline rather than on the attic floor. These systems require specific materials and installation methods. Do not add standard roof vents to an unvented attic without qualified guidance, because doing so can interfere with the assembly’s intended moisture control strategy.
Plan Ventilation Work With Roof Repairs or Replacement
The best time to make major ventilation changes is often during roof repair or replacement. With shingles removed, installers can examine roof decking, add ridge venting where appropriate, correct damaged sheathing, and integrate intake or exhaust components properly with the roofing system.
This approach also avoids a common problem: cutting new holes into an otherwise serviceable roof without fully considering flashing, shingle layout, and warranty requirements. A ventilation upgrade should protect the roof from water intrusion, not create future leak points.
For homeowners in Greensboro, Winston-Salem, High Point, and surrounding communities, summer heat and seasonal humidity make this planning especially worthwhile. A professional roof assessment can identify whether ventilation is truly the issue or whether insulation, air leakage, roof damage, or a combination of factors is affecting your home.
When to Call a Professional
You can safely look for obvious signs such as blocked soffits or damp insulation, but roofing and ventilation work involves fall risks, electrical hazards, and the possibility of damaging the roof. Call a qualified contractor if you see stained roof decking, mold, recurring roof leaks, sagging sheathing, or evidence that bathroom or dryer vents terminate in the attic.
Carolina Improvements can evaluate the condition of your roof and attic ventilation as part of a practical, homeowner-focused recommendation. The goal is not to add vents for the sake of adding vents. It is to create a system that supports your roof, insulation, and indoor comfort for the long term.
A cooler attic begins with the right diagnosis. When airflow, insulation, and air sealing work together, your home has a better chance of staying comfortable while the roof system stays dry and protected.